
Let’s look at flat designs first, such as woodblocks and wood-block looking. One of the tricks to creating a lovely flat woodblock look is to carefully stitch each element in order of “farthest back” to “most forefront.”
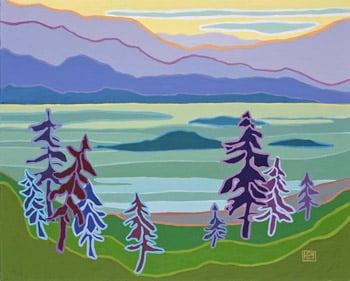
Though this image appears flat, hills and water do overlap and you’ll want to create a nice smooth edge at the overlap that draws the eye to the layer that is on top. Sometimes the actual stitch combines with what to do first. In this canvas and others like it using back stitch, stem or satin repeatedly helps the eyes see the design without a lot of different patterns – to “catch” the fly of the clouds, mountain water and land. we prefer Stem for the flowing lines that separate one mountain from another and the areas of the ground. Try all three and mimic the lines you see in this picture.

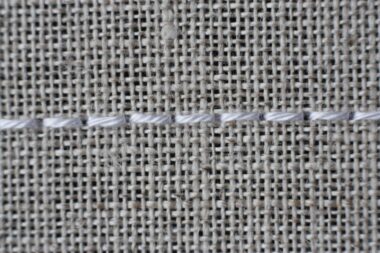
Above is a finished image of a backstitch.
Decide how long you want your stitches to be and bring the needle up on the design line that distance from the start. Insert the needle at the start of the line to make the first stitch, continue along the line at the desired stitch length from the first stitch to last.
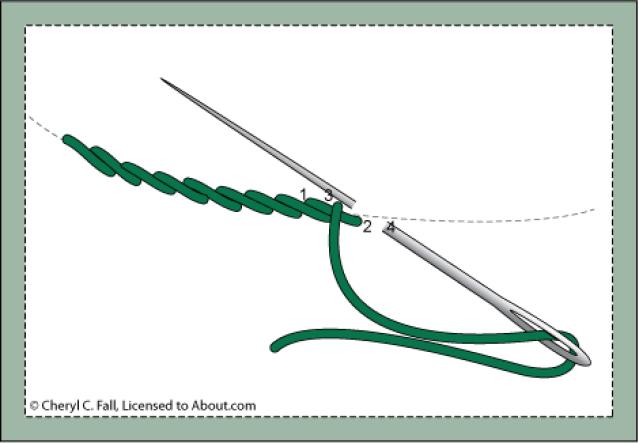
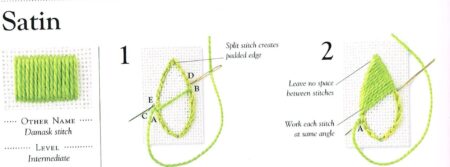
So you do not have to go back to previous lessons – here’s the Stem (above) and Satin stitch.
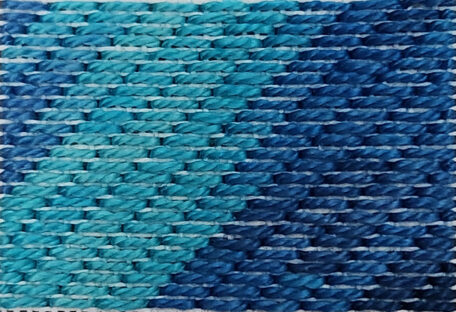
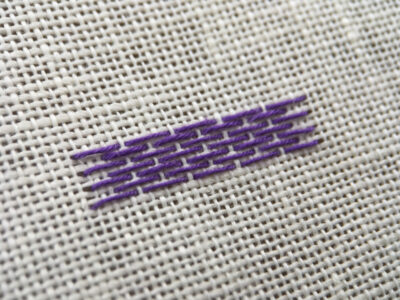
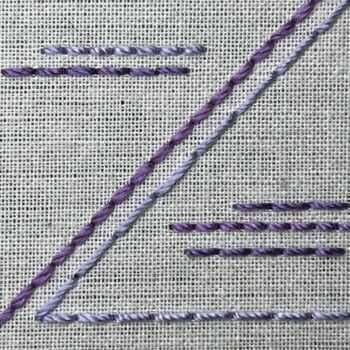
The Darning Stitch is also great for filling sections to go across the canvas in a quiet way.
This stitch consists of several parallel rows of a long version of running stitch.
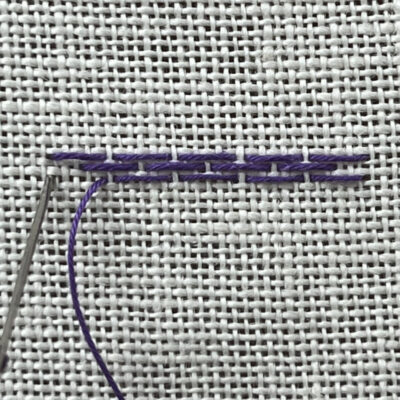
Pick up by each stitch so the thread covers most of the stitched area size you want.
Geometric patterns can be built up by varying the arrangement of the stitches.
In this example, a simple brick pattern arrangement is formed by offsetting the stitches.
Earlier this year we presented Mosaic.
Condensed Mosaic is another quite pattern that can fill an area going across the canvas.
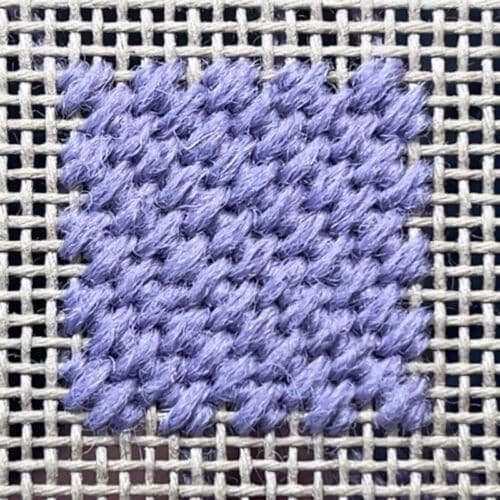
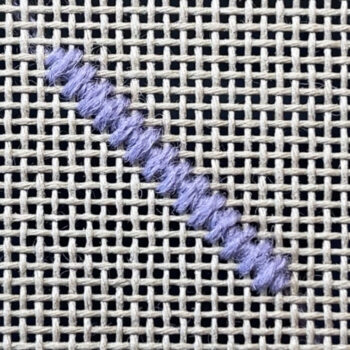 With a diagonal stitch from bottom left to top right, work over one intersection.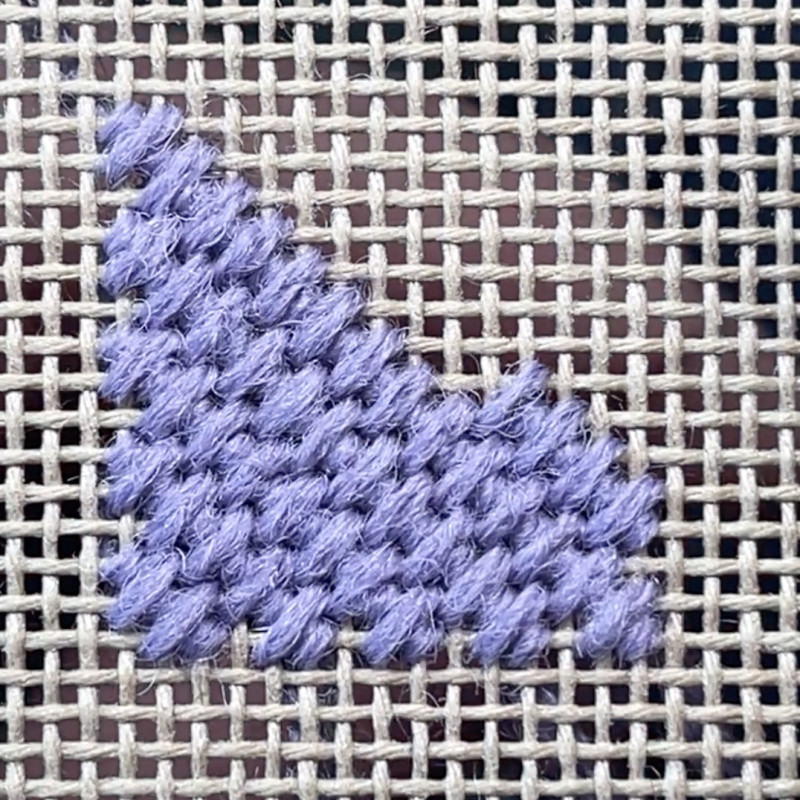
Then over two intersections. Repeat across the shape to complete a diagonal row. Work back up repeating the pattern; with the small stitch touching the longest stitch of the previous row, and the longest stitch touching the shortest of the previous row, neatly interlocking to get to the final filled in space. Stitch on the the diagonal to fill in a space going up and down or across a canvas.