

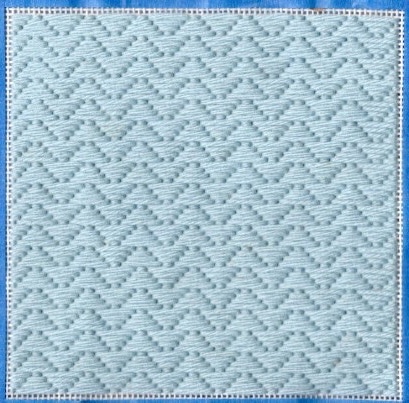
Unlike its cousin, the Milanese stitch, which goes on a diagonal, to make diagonally offset triangles, the Straight Milanese is very useful for backgrounds and to use when you have a part of your canvas that goes upwards.
it consists of triangles stacked in a straight line, although collectively they give a visual effect of a wavy line. At their narrowest point the triangles are worked over two threads and at their widest over eight.
Start with a horizontal thread over two canvas threads. Below this, add 3
horizontal stitches each increasing by one canvas thread at each end to complete a triangle shape.
Continue working down and repeat the triangles in a column.
Work back up the adjacent column using the same sequence, with the position of the triangles reversed,
so that the smallest stitch is placed beside the longest in the first row and the triangles fit together.
You need not go to over 8 to get a triangle, but can when you need a bigger fill.
Like many canvas stitches it can be worked vertically or horizontally
(the name ‘straight Milanese stitch’ is more commonly used for the horizontal version
whereas the one called ‘vertical Milanese stitch’ obviously refers to the vertical version.
This is a distinct pattern. It can be a heavy pattern as a background,
but also very sweet for a quick fill of an ornament or a canvas that has a few obvious details such
as an animal or bird (just for an example)
or lettering or soft pattern for an oblong shape or a distinct cloud. It is also servesr as a fill in for leaves, waves.
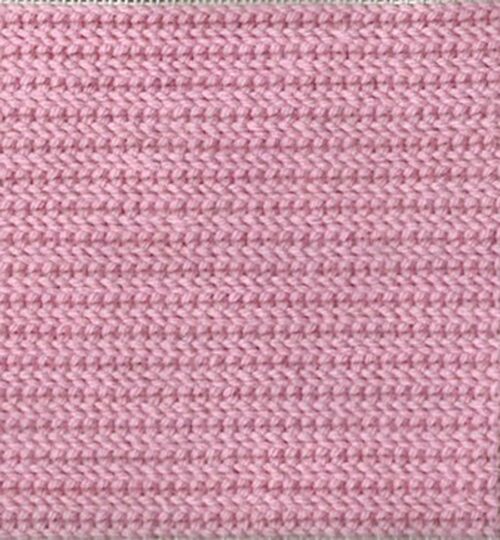 This is such a pretty stitch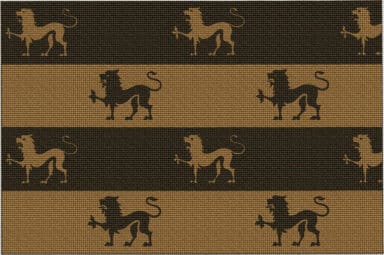
Think about this as a background stitch for a horizontal area behind the lions in our Marching Lions Bolster Kit – every other row (gold)and then do the Herringbone on the other alternate row (black) or vice versa.
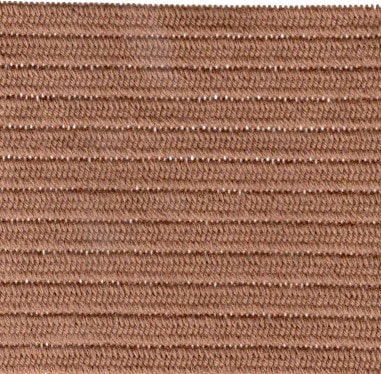
Next up is the Janina stitch.
This stitch is a little more advanced by actually pretty easy to execute.
It is a version of Romanian couching which is suitable for small or narrow areas.
It consists of laid stitches each of which are couched down with a single small diagonal stitch using the same thread, together they form a central ridge down the stitched area.
Bring your needle up on one side of your design area and take it down straight across to make a satin stitch which you learned earlier.
Bring your needle up just above the satin stitch just before the centre of the line, making sure you don’t pierce the stitch.
Take your needle over the stitch and down through the fabric, just the other side of the centre line:
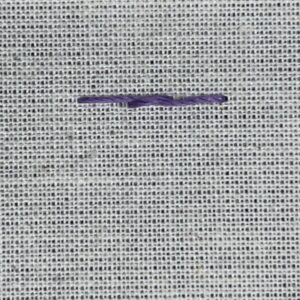 this is what it will look like.
Bring your needle up at the original side of the design area and repeat these steps making sure your couching stitches are aligned.
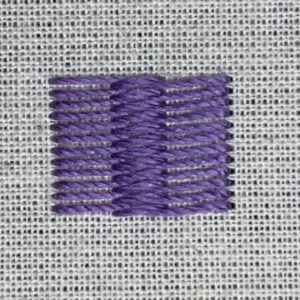
This is what it will look like.